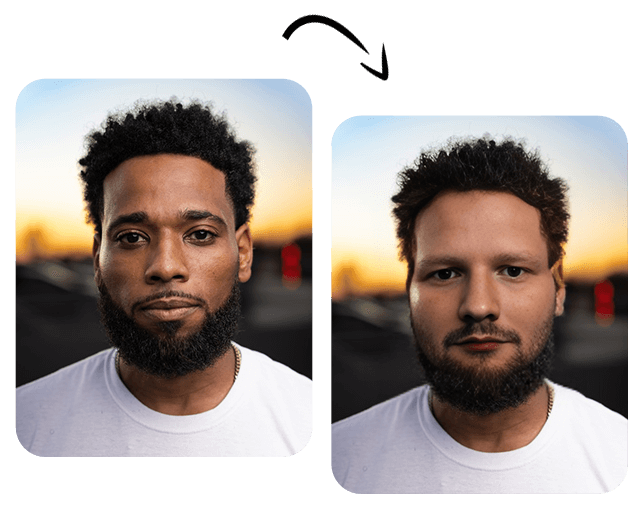
Step-by-Step Guide: How to Use AI Face Swapper for Stunning Photo Edits
In the ever-evolving world of digital photography, innovative tools and applications continue to emerge, allowing users to unleash their creativity in unprecedented ways. One such tool that has gained popularity is the AI Face Swapper. This cutting-edge technology enables users to seamlessly swap faces in photos, creating amusing or jaw-dropping edits. In this step-by-step guide, we will walk you through the process of using an AI Face Swapper to achieve stunning photo edits.
Step 1: Choose a Reliable AI Face Swapper
The first crucial step in the face-swapping journey is selecting a reliable AI Face Swapper tool. Several applications and online platforms offer this feature, so make sure to choose one with positive reviews and a user-friendly interface. Some popular options include FaceApp, Reface, and DeepArt.
Step 2: Install and Open the Chosen Application
Once you’ve decided on the AI Face Swapper of your choice, proceed to install it on your device. Whether you’re using a mobile app or a desktop application, follow the installation instructions provided. Once installed, open the application and familiarize yourself with its features.
Step 3: Upload or Capture Your Photo
Most AI Face Swappers allow you to either upload an existing photo from your gallery or capture a new one using your device’s camera. Choose a photo with clear and well-lit faces for the best results. Ensure that the faces in the photo are visible and easily distinguishable for a seamless swapping process.
Step 4: Identify and Mark Faces
After uploading or capturing your photo, the AI Face Swapper will typically prompt you to identify and mark the faces you want to swap. Use the provided tools to outline the faces accurately. Some applications may automatically detect faces, while others may require manual marking.
Step 5: Choose Faces for Swapping
Once the faces are marked, you’ll be prompted to choose the faces you want to swap. Depending on the application, you may have the option to select faces from a pre-existing library or upload images of specific faces you want to use. This is where the fun begins, as you can experiment with celebrities, friends, or even historical figures.
Step 6: Adjust Settings for a Natural Look
To enhance the realism of your face swap, explore the application’s settings to adjust parameters such as blending, lighting, and color matching. These settings allow you to fine-tune the swapped faces to seamlessly integrate with the original photo, creating a more natural and convincing result.
Step 7: Preview and Save Your Edited Photo
Before finalizing your edit, take advantage of the preview feature to ensure you’re satisfied with the outcome. Once you’re pleased with the results, save your edited photo to your device or share it directly on social media to showcase your creative masterpiece.
Conclusion: Unleash Your Creativity with AI Face Swapping
In conclusion, AI Face Swappers provide a fun and innovative way to transform your photos and create memorable edits. By following this step-by-step guide, you can navigate the process effortlessly and unlock the full potential of these powerful tools. So, go ahead, experiment, and let your creativity shine with stunning AI face-swapped photo edits!
To Swap faces effortlessly with our Free AI Face Swapper visit this website


