Creating a custom long and thin table is a rewarding DIY project that adds both style and functionality to your home. Whether you need a narrow console for your hallway, a minimalist desk for your workspace, or a sleek dining table for small spaces, building it yourself gives you full control over the design, materials, and dimensions. This guide walks you through every step of the process—from planning and materials to finishing touches—so you can confidently craft a piece that fits perfectly in your home.
Why Choose a Long and Thin Table
A long and thin table offers several advantages, especially for modern or compact living spaces. Its narrow profile allows it to fit against walls, behind sofas, or in hallways without taking up too much room. It provides an elegant surface for décor, storage, or dining without cluttering your interior. Additionally, the elongated shape can visually expand a room, making it appear larger and more open. For DIY enthusiasts, it’s also a manageable project that requires only basic carpentry skills and tools.
Planning Your Design
Before you start cutting or drilling, take time to plan your table design carefully. Determine where you want to place the table and measure the available space. A typical long and thin table might be 60–72 inches long and 10–18 inches wide, but you can adjust these dimensions based on your needs. Consider the table’s height as well—standard console tables are about 30 inches tall, while sofa tables may range from 28 to 32 inches. Think about how you’ll use the table: will it serve as a writing desk, entryway console, or dining surface? The purpose will influence both the design and material selection.
Materials and Tools You’ll Need
For a sturdy and beautiful long and thin table, choose materials that balance durability and aesthetic appeal. Common options include:
- Wood for the tabletop: Pine, oak, walnut, or plywood depending on your budget and finish preferences.
- Wood or metal for legs: Choose straight, tapered, or hairpin legs for a stylish modern look.
- Screws and brackets: For secure assembly.
- Wood glue: To reinforce joints.
- Sandpaper and stain or paint: For a polished finish.
Essential tools include a measuring tape, saw (circular or hand saw), drill, screwdriver, clamps, and paintbrushes.
Step 1: Cutting and Preparing the Wood
Start by measuring and cutting the tabletop to your desired length and width. A long and thin table requires precise cuts to maintain balance and stability, so double-check your measurements. Sand all edges and surfaces to remove splinters and rough spots. If you plan to add aprons (support beams connecting the legs), cut those pieces as well—typically about 3–4 inches wide and slightly shorter than the tabletop length.
Step 2: Building the Frame
If you’re creating a wooden table frame, attach the apron pieces to the underside of the tabletop using wood glue and screws. Position the aprons about 1 inch in from the edge to create a seamless border. Use clamps to hold everything in place while the glue dries. For a long and thin table, make sure the frame is straight and square to prevent wobbling. You can check alignment using a carpenter’s square.
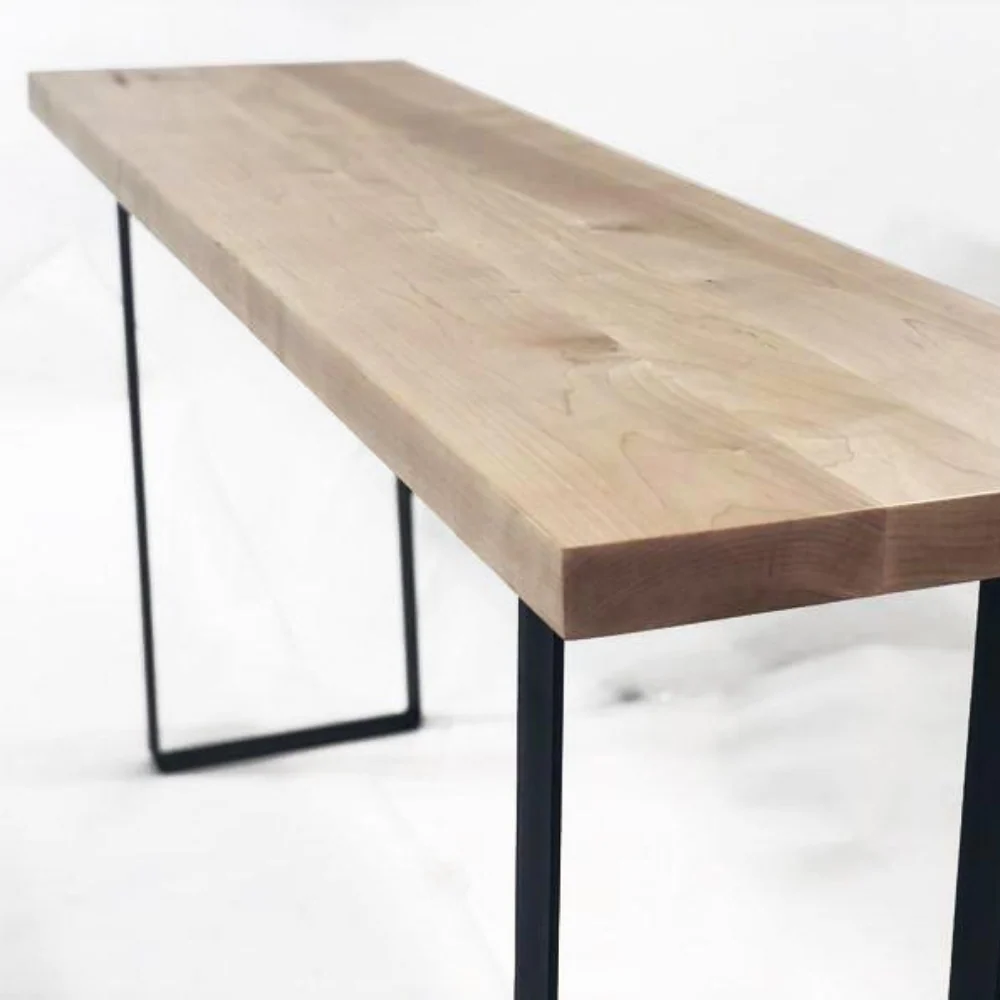
Step 3: Attaching the Legs
Once the frame is secure, attach the legs. Depending on your design, you might use wooden legs screwed into the corners or metal hairpin legs for a more contemporary look. Ensure that all legs are the same height and aligned properly. If your long and thin table is longer than 72 inches, consider adding a central support leg or beam to prevent sagging in the middle.
Step 4: Reinforcing and Stabilizing
Stability is crucial for narrow tables. Reinforce the joints by adding L-brackets or corner blocks underneath the tabletop. This step ensures that your long and thin table remains sturdy even with regular use. Check for any wobbling by placing the table on a flat surface and making minor adjustments as needed.
Step 5: Sanding and Finishing
After the structure is complete, give your table a final sanding. Use fine-grit sandpaper to smooth the surface and prepare it for staining or painting. The finish you choose will define the table’s overall look. A natural wood stain enhances the grain and gives a rustic appeal, while paint can create a modern or minimalist appearance. For durability, apply a clear protective coat such as polyurethane once the stain or paint is dry. This not only protects against scratches and moisture but also gives your long and thin table a professional shine.
Step 6: Adding Personal Touches
One of the joys of DIY is customization. You can personalize your long and thin table in countless ways. Add a lower shelf for extra storage, use decorative metal brackets for an industrial vibe, or attach wheels to make it mobile. If you’re using it as a desk, consider drilling a hole for cable management. For a hallway table, you might install small drawers or hooks underneath.
Design Ideas for Different Spaces
A long and thin table is highly versatile and can adapt to various home settings:
- Entryway Console: Place near the front door with a mirror above it for a welcoming look.
- Behind-the-Sofa Table: Perfect for displaying plants, lamps, or artwork.
- Narrow Dining Table: Ideal for small apartments or kitchen nooks.
- Home Office Desk: Use a minimalist design for a productive and clutter-free workspace.
- Hallway Display Table: Showcase photos, books, or decorative items in tight spaces.
Each placement offers a unique way to enhance your home while maintaining function and style.
Maintenance Tips
To keep your long and thin table in top condition, clean it regularly with a soft cloth and mild cleaner. Avoid placing heavy or unbalanced loads on the surface to prevent warping. If your table is made of natural wood, apply a fresh coat of polish or sealant every few years to maintain its finish. For tables exposed to moisture, ensure you use a waterproof protective coat during the finishing process.
Conclusion
Building your own long and thin table is a fulfilling DIY project that blends creativity, functionality, and craftsmanship. It’s an excellent way to add a custom piece to your home that fits your exact space and style. With the right materials, careful measurements, and a bit of patience, you can create a durable and elegant table that will serve you for years. Whether it’s a console, desk, or dining table, this versatile piece proves that even simple designs can make a big impact when made with your own hands.